Bring the brewery home!
Say what you will about the coronavirus pandemic, but one undeniably positive thing about it — okay, the only positive thing about it — is that we’re living in the golden age of home bread baking. You may be aching with nostalgia for those carefree days when you would stroll by your local taproom to savour a pint or two, but on the other hand, there’s a not-too-bad chance that you’re also glowing with pride over the sourdough culture that’s bubbling away on your counter. You may not be hanging out with your local brewer as often as before, but in a way, you’ve become something of a yeast wrangler yourself, minus the overalls and green rubber gloves.
I’m here to tell you that you don’t have to choose between one delicious fermented grain product and another! Baking sourdough bread with beer as an ingredient is a perfect way to bring home some of the DIY spirit of your favourite local brewery. Beer, used in place of water in bread dough, can contribute a range of delicious, complementary flavours that add depth and nuance to your loaves. Dry, light-coloured beer such as helles lager or kölsch will give you subtle, caramel-like sweetness in the crumb and a rich brown crust, while richer and darker beers like porter and stout add deep, chocolatey complexity. If you’re a seasoned bread baker, you can go right ahead and try adding beer to your favourite recipe — start by substituting beer for a third of the total water, and if you like the results, try adding more. But if you’re just getting started in the world of bread, or if you’re looking for some new ideas, read on.
I’ve shared three recipes here that showcase the delicious possibilities of baking with beer. I chose ones that are suitable for novice bread bakers, so don’t let yourself feel intimidated. You can do this! That said, there are a few specific things you’ll need to have on hand:
- BEER – Take this as the excuse you were looking for to support your local brewery. I live in Gibsons, so I took the opportunity to pick up a variety of delicious local brews from The 101 Brewhouse + Distillery, Tapworks Brewing Company, and Persephone Brewing Company. Get some beer that you think would be delicious to add to bread, and make sure to get something for yourself while you’re there. Beer pairs extraordinarily well with fresh bread!
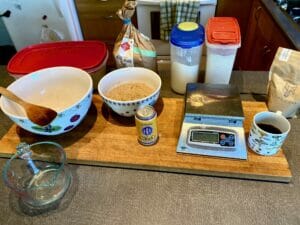
- A SCALE – There’s really no way around the fact that weighing your bread ingredients is far more precise than measuring them by volume. Given that so much of a bread’s success hinges on the ratio between its dry and wet ingredients, it’s well worth your while to invest in an inexpensive kitchen scale if you haven’t already. Get one that you can zero so that you can weigh out each ingredient separately as you add it to the bowl. A decent one should set you back no more than $50, and they are readily available from local and online suppliers.
- SOURDOUGH CULTURE – Maybe you have some of your own on hand. If so, great! If not, you can either find a friend who has some to share, or you can make your own. There are plenty of how-to guides on the internet. Here’s a good one.
- FLOUR – Wheat flour is usually pretty easy to come by, whether it’s white all-purpose flour or darker whole wheat flour. Two of the three recipes below call for rye flour, though, which can sometimes be a bit more difficult to track down. A well-appointed supermarket will usually carry at least one brand of whole rye flour (also sometimes labelled “dark rye flour” or just “rye flour”), but if you want to find light rye flour or coarse rye meal you’ll likely have to visit a specialty food store or visit an online supplier. I like the rye flours available from Daybreak Mill. If you can’t find these specialty rye flours, go right ahead and use whole rye in place of the light rye and coarse rye meal in each of these recipes. You’ll be fine!
STOUT SANDWICH LOAF
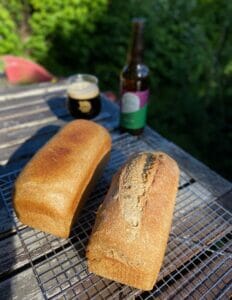
Whole wheat sandwich bread is maybe the least glamorous bread out there, but don’t turn up your nose – this utilitarian loaf is delicious. The crumb is soft, even, and elastic, making it ideal for slicing thinly and topping with your favourite sandwich ingredients. A healthy pour of dark ale or lager gives it a deep richness that stands out when it’s toasted and topped with peanut butter and jelly. I used Tapworks Brewing Co.’s robust, roasty Hwy 102 Oatmeal Stout, which gave the dough a pleasant chocolatey aroma. Plus, it comes in a 650-ml bomber, so there was enough left over for a late morning beverage. You didn’t think I’d pour it out, did you?
Makes: 2000 g dough (2 loaves)
Start to finish: About 22 hours
STEP 1: SPONGE (EVENING BEFORE BAKING DAY)
15 g mature sourdough culture
138 g whole wheat flour
138 g lukewarm water
Mix these ingredients together in a small bowl, cover, and leave to ferment overnight. In 10-12 hours the sponge will be light, bubbly, and will smell fresh and yeasty.
 STEP 2: AUTOLYSE (MORNING, BAKING DAY)
Sponge
349 g dark beer at room temperature
270 g lukewarm water
378 g whole wheat flour
640 g all purpose flour
Transfer the sponge to a large bowl and stir in the beer and the water, mixing until completely combined. Then add the flours, mixing with a strong wooden spoon just until there is no dry flour left. The dough will look shaggy and uneven. Cover the bowl and let it sit for 40 minutes to allow the flour to absorb the liquid completely.
STEP 3: FINAL MIXING
23 g salt (any kind you like, as long as the crystals are nice and fine)
50 g lukewarm water
 Sprinkle the salt over the dough and pour the water over the salt to dissolve it. Then use your hands to massage the salt and water into the dough. As soon as you can’t see any more water left unincorporated, scrape the dough out onto a smooth surface and squish it roughly flat. You’re going to knead the dough now. It shouldn’t take more than five minutes of vigorous kneading to make your dough smooth and elastic — when it’s ready, though, it will still be fairly sticky. I know my dough is close to ready when it starts to peel off the counter in one cohesive mass, with the edges of the mass forming distinct ridges as they come away.
Once you’re finished kneading, transfer your dough from the counter (a bench scraper is very helpful here) to a well-buttered large mixing bowl. Cover and leave to ferment at room temperature until the dough has roughly doubled in volume. This can take anywhere, in my experience, from 3.5 to 5 hours. Don’t rush this step – let the dough slowly rise and develop flavour.
STEP 4: DIVIDING AND SHAPING (BAKING DAY, AFTERNOON)
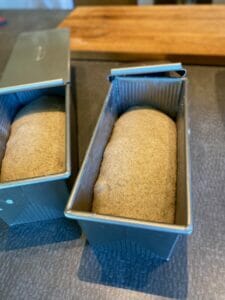
While the dough is rising, take the time to prepare your baking pans. This recipe will work well with a standard 9” x 5” bread pan, but if you have the smaller 8.5” x 4.5” pans, you should be fine too. I use 9” x 4” Pullman pans, which come with a removable lid for making a deliciously rectangular sandwich loaf. Whatever your bread pan of choice is, coat the inside well with butter (or a vegan fat of your choice) and set the pans aside.
Once the dough has fully risen, clear a space on your counter and sprinkle some all-purpose flour on it. Scrape the dough onto your counter and divide it in half using your bench scraper or another hard object. If you like, use your scale to divide the dough into two even pieces. Shape them into loaves by pressing the dough roughly into a rectangle, then, with well-floured hands, rolling it up away from you starting with the near edge, giving the loaf an oblong shape. Press down with the edge of your hands to seal the seam, then place the loaf in your prepared pan, seam side down. Cover your loaf pans with well-buttered plastic wrap and allow the dough to rise until it’s roughly doubled again. This typically takes 2 to 3 hours in my kitchen.
STEP 5: BAKING
Preheat your oven to 400° about half an hour before you expect the loaves to be ready to bake — don’t worry about getting this exact. When your loaves have doubled, they’re ready to go in! If you like, make a single lengthwise slash down the loaves — as they expand in the oven, this slash will open up handsomely. Place the loaves in the oven and bake for about 50 minutes. When they’re ready, they’ll be a nice golden brown all over, and if you flip the loaf over and tap it on the bottom with one finger it’ll make a nice hollow thumping sound. If you have an instant-read probe thermometer, the inside of the loaf should read at least 198°. Let them cool completely before slicing and enjoying with a beverage of your choice!
EIBAUER’S BEER RYE
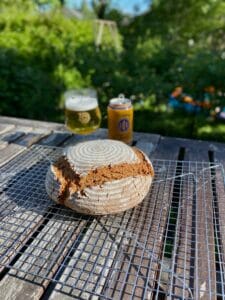
This recipe comes from the fantastic German-language baking website Ketex – Der Hobbybrotbäcker. The recipe calls for a light beer, so I picked up a six-pack of Persephone Brewing Co.’s outrageously refreshing Coast Life Lager. Its subtle maltiness complements the robust flavour of the whole rye flour, while adding a toasty depth to the rich brown crust. Don’t be intimidated by the fact that it’s a round loaf – the rye dough is fairly stiff and easily molded, as long as your hands are sufficiently floured.
Makes: 1210 g dough (1 round loaf)
Total time: about 20 hours
STEP ONE: SPONGE (EVENING BEFORE BAKING DAY)
26 g mature sourdough culture
130 g whole rye flour
130 g light rye flour (or whole rye)
260 g warm water
Mix these ingredients thoroughly in a small bowl and cover to ferment for about 16 hours. The sponge will smell assertively sour.
STEP TWO: FINAL DOUGH (MORNING, BAKING DAY)
Sponge
135 g whole rye flour
135 g light rye flour (or whole rye)
70 g whole wheat flour
70 g all-purpose flour
230 g light beer at room temperature
14 g salt
10 g instant yeast
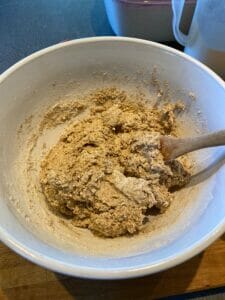 Mix these ingredients together thoroughly until you have a stiff, smooth, absurdly sticky dough. Scrape the sides of the bowl down, cover it, and let it rest for 30 minutes. Meanwhile, find a cloth napkin and sprinkle all purpose flour all over it, rubbing it in thoroughly. Then find a basket that’s a bit bigger than the dough. If you have a banneton or other proofing basket, use this.
Once the 30 minute rest is up, sprinkle flour on your counter and carefully scrape the dough out onto it. With well-floured hands, shape your dough into a smooth round, and place it into the basket, smooth side down. Cover the loaf with another cloth, or with a buttered piece of plastic wrap, and let rise for 60 minutes. At this point the loaf should have expanded significantly but not doubled.
STEP THREE: BAKING (MIDDAY, BAKING DAY)
If you have a baking stone, put it in the oven now and preheat the oven to 480°. Then, find a piece of cookware that can handle high temperatures — a cast iron skillet is a good choice, or a spare loaf pan. Place it in the oven underneath the baking stone 30 minutes before you bake. And if you don’t have a stone, no sweat. You’ll be fine.
Five minutes before baking, put on your trustiest oven gloves and very carefully pour half a cup of boiling water into the preheated cast iron skillet or loaf pan, then close the oven door.
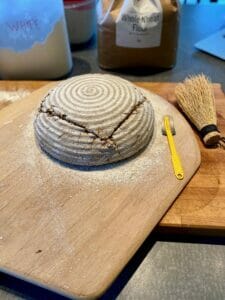 When your 60-minute timer goes off, carefully turn your loaf out of its basket onto a well-floured baking peel (if you aren’t using a stone, turn it onto a well-floured baking sheet). You’ve got a choice here. You can either use a sharp knife or razor to cut a pattern into your loaf, and as it expands in the oven, the slashes will open up beautifully. Or, if you prefer a natural look, you can skip this step and let the loaf crack naturally. Then, if you’re using a peel, open the oven door and carefully slip the loaf onto the preheated baking stone. If you’re using a baking sheet, place the sheet in the oven. Either way, bake the loaf for 15 minutes with steam. Then, when your timer goes off, lower the oven temperature to 355° and remove the steam pan. Set the timer for a further 45 minutes. The loaf is done when the crust is a rich brown and the inside of the loaf measures 198° on an instant-read probe thermometer.
SOURDOUGH DANISH RYE
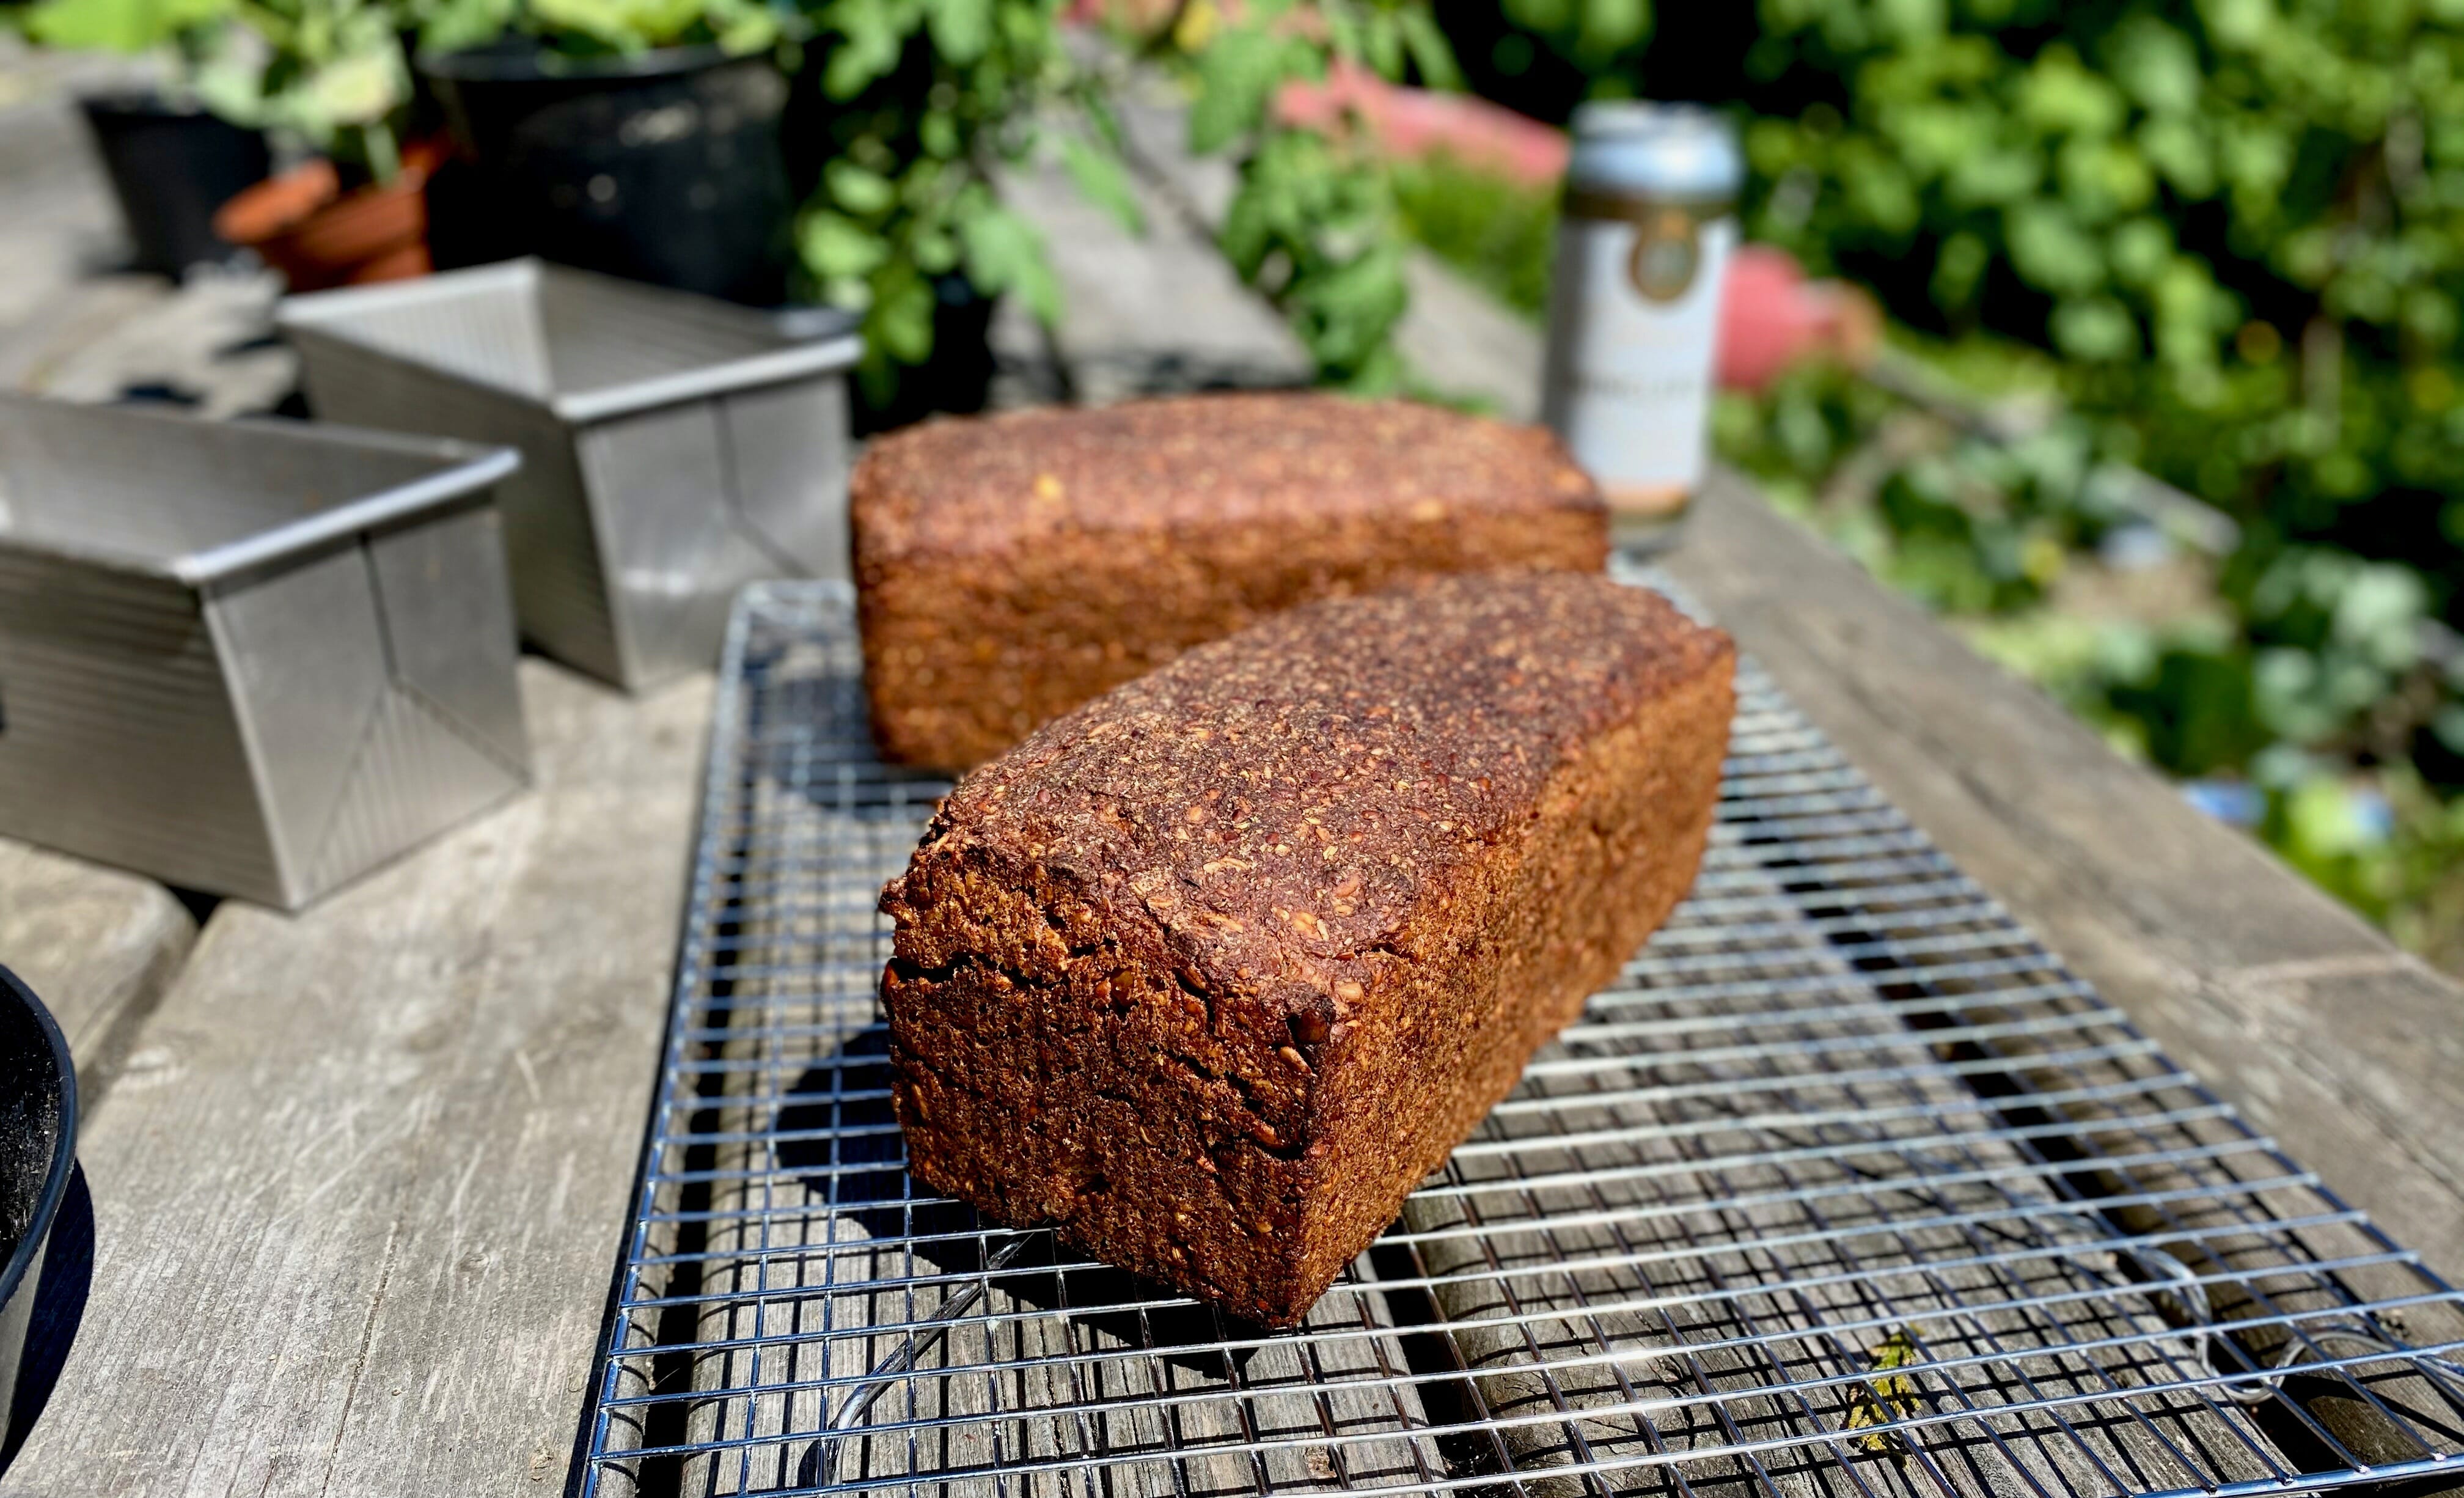
Ever since an Instagram influencer ran the word “hygge” through Google Translate, Danish rye bread has been soaring in popularity. It’s a dense and complex loaf, packed with seeds, grains, and often including a healthy splash of beer. This variation, from rye expert Stanley Ginsberg’s blog The Rye Baker, is leavened entirely with sourdough, giving it a pronounced sour flavour that contrasts beautifully with the richness of the seeds. I wanted to use a beer that would add complexity of the flavour profile without dominating, so I went with The 101 Brewhouse + Distillery’s Shingleroof Hefeweizen. The pronounced spice and the bright banana esters from the German wheat beer yeast work perfectly in a bread that’s all about big flavours.
Makes: 3000 g dough (2 large loaves or 3 smaller ones)
Total time: About 30 hours
STEP ONE: STAGE 1 SPONGE (MORNING BEFORE BAKING DAY)
10 g mature sourdough culture
100 g whole rye flour
100 g warm water
Mix these ingredients in a small bowl until smooth. Cover and allow to ferment for 10-12 hours — the sponge should have doubled in volume.
STEP TWO: STAGE 2 SPONGE (EVENING BEFORE BAKING DAY)
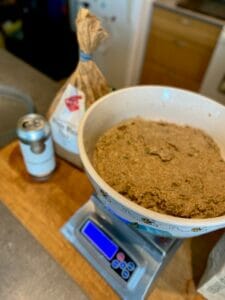 Stage 1 sponge
670 g whole rye flour
670 g warm water
40 g salt
50 g light molasses, maple syrup, or honey
100 g pumpkin seeds
100 g sunflower seeds
70 g flax seeds
35 g sesame seeds
Mix these ingredients thoroughly in a large bowl and cover. Allow to ferment 10-12 hours. It probably won’t double this time, but the sponge will have expanded significantly and will smell rich and sour.
STEP THREE: FINAL DOUGH (MORNING, BAKING DAY)
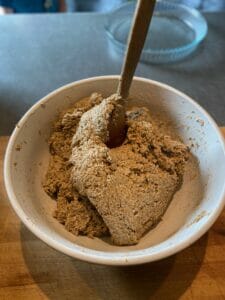 Stage 2 sponge
500 g coarse rye meal (if you don’t have it, just use more whole rye flour)
235 g whole wheat flour
320 g beer at room temperature
Mix these ingredients into the sponge and stir to combine completely. It’ll be a bit of an arm workout, and you’ll definitely benefit from using a very sturdy wooden spoon. Once everything is thoroughly mixed, take a little break to grease your bread pans with butter or a vegan fat of your choice. If you’re using 8.5” x 4.5” bread pans, you should prepare three of them, but if you’re using larger pans you can go ahead and just prepare two. Divide the dough evenly between the pans — I scooped it out of the bowl with a wooden spoon and squished it flat in the pans with a wet hand. Smooth out the tops of the loaves, cover with a well-greased piece of plastic wrap, and allow to rise for 3-5 hours, until the loaves have risen visibly and the tops show numerous broken bubbles. This took 4 hours in my kitchen.
STEP FOUR: BAKING (MIDDAY, BAKING DAY)
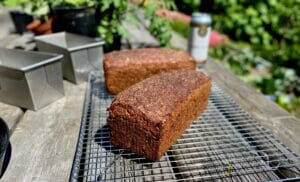
As the loaves are nearing readiness, preheat your oven to 435°. Once the loaves have fully risen, bake them for 75-90 minutes, or until the inside of the loaf measures 198° when measured with an instant-read probe thermometer. The loaves will be a deep brown all over. Let them cool completely before you cut into them. The crust will soften as the bread ages.
Know Before You Go
Travel within British Columbia is still restricted. For more information please refer to this page.
